Clay masks are a wonderful way to detox your skin and have been used for centuries for their healing properties. As a clay mask tightens and dries, it absorbs oil and leaves pores feeling cleaner and smaller.
Here are some tips on how to make the most of your clay mask experience:
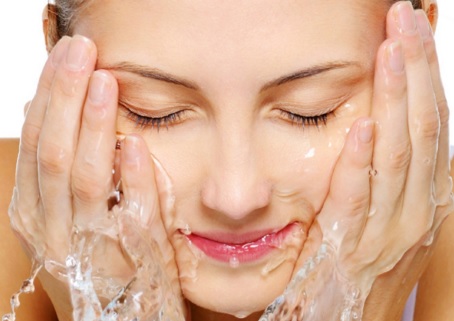
Step 1: Clean the face thoroughly
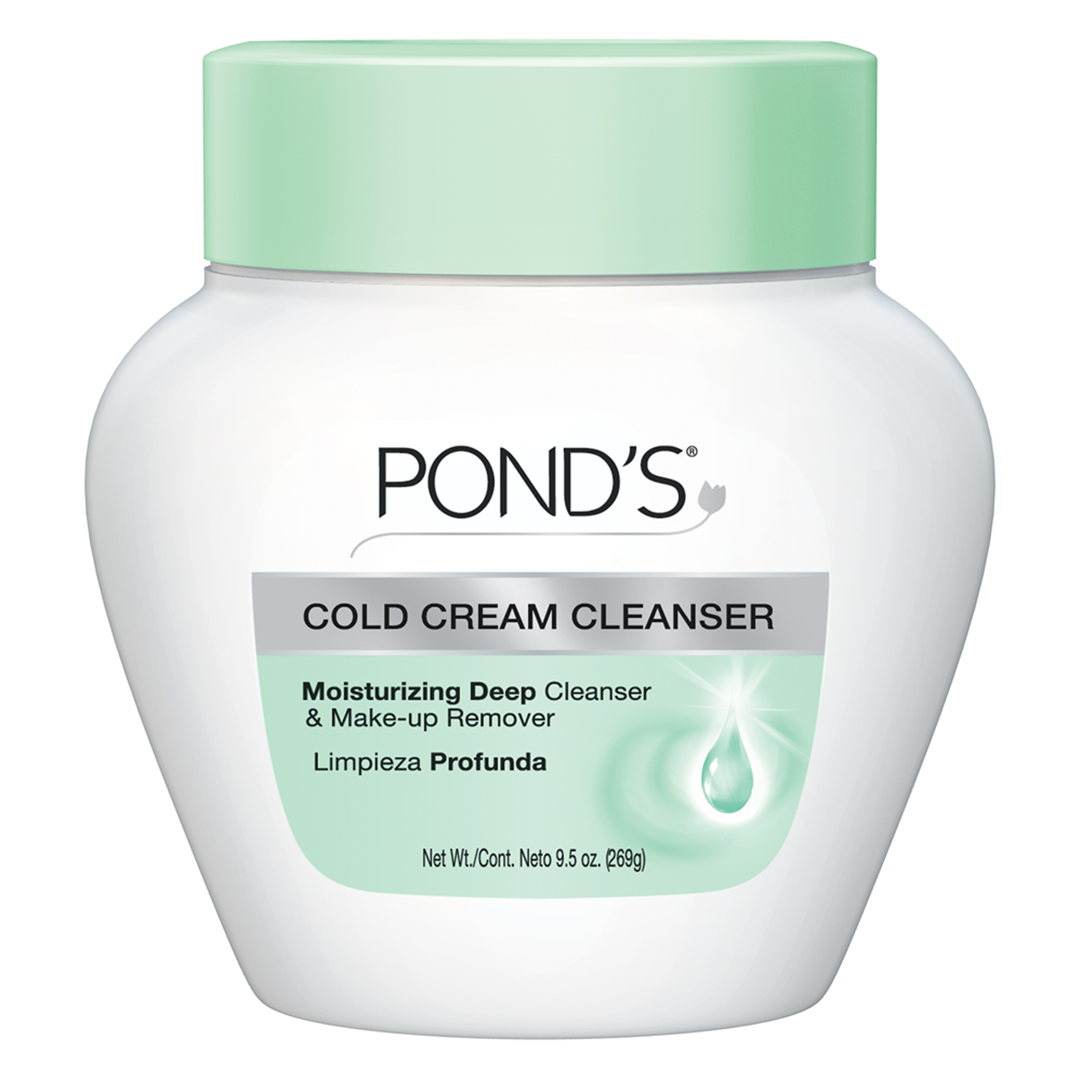
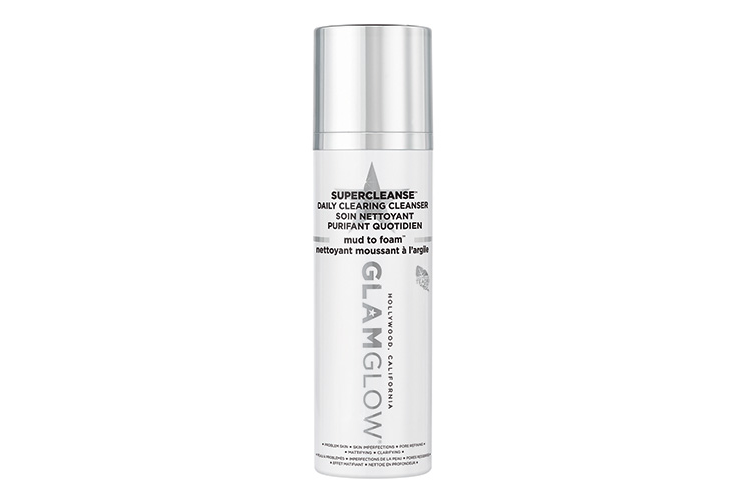
Calyxta Recommends: PONDS COLD CREAM CLEANSER 9.5OZ PHP 434.75—a beauty staple that removes any trace of makeup and GLAMGLOW SUPERCLEANSE (PHP 1,900.00)—the world’s first mud-to-foam cleanser for troubled skin. This daily cleanser changes color and transforms the mud in your favorite Glamglow mask into a gentle and effective foaming lather to dissolve oil and makeup, rinsing away pore-clogging debris, impurities and excess oil.
Step 2: Make sure skin is thoroughly dry

Clay masks don’t work well on wet skin, because having extra moisture on the skin before placing the mask will make the mask focus on that moisture instead of absorbing all the oil from your pores.
Step 3: Mix your clay mask
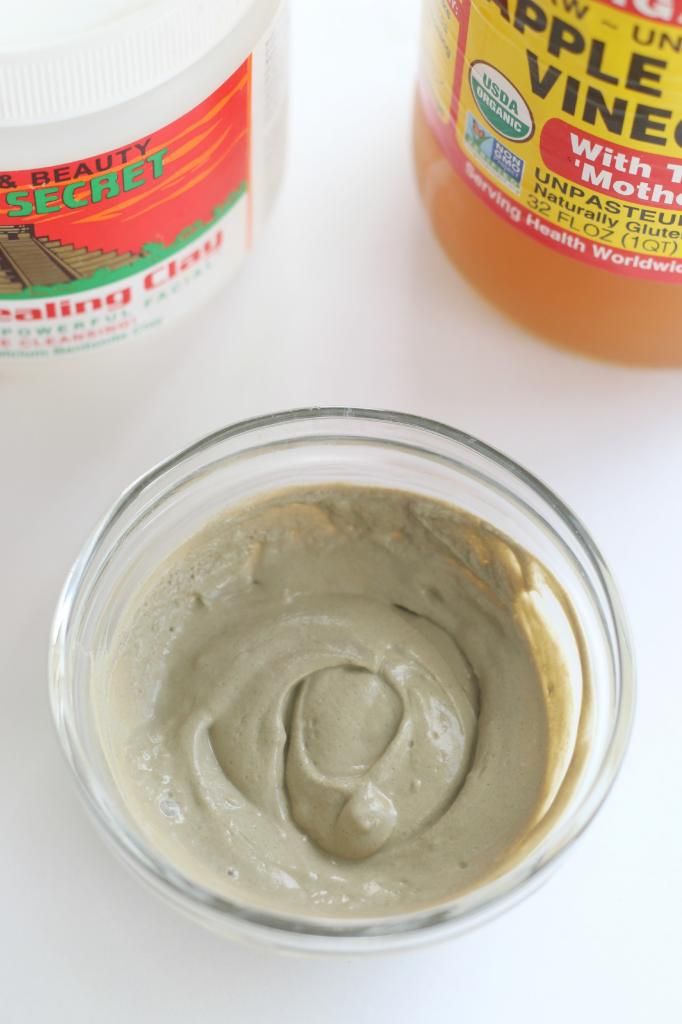
Certain clay masks come in powder form and can be mixed with a liquid of your choice. While most people prefer water, you can also use a mild exfoliant like Apple Cider vinegar for your clay mask to guarantee more thorough detoxification. Place a generous spoonful of clay and add equal parts liquid slowly until you get a nice, thick consistency without it being too pasty or watery. Clay should also have no more lumps after.
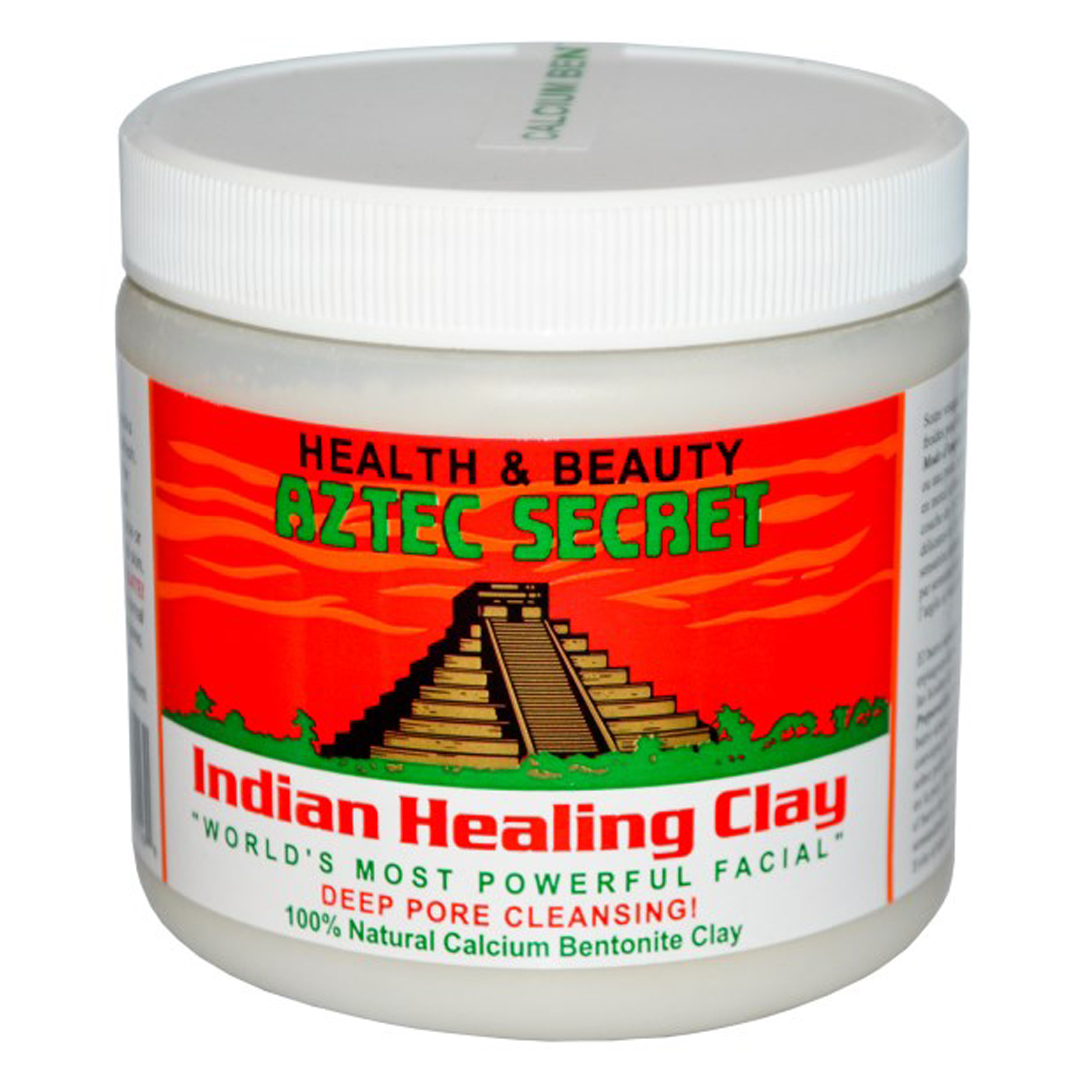
Calyxta recommends: AZTEC SECRET INDIAN HEALING CLAY (PHP 500.00)—a 100% natural Calcium Bentonite clay that is often dubbed as the “world’s most powerful facial.” You can actually feel your face pulsate while removing impurities and dirt from the pores. Add yourself to the waiting list and get notified when this Calyxta Beauty Awardee is back in stock!
Step 4: Paint mask on and gently rub in a circular motion
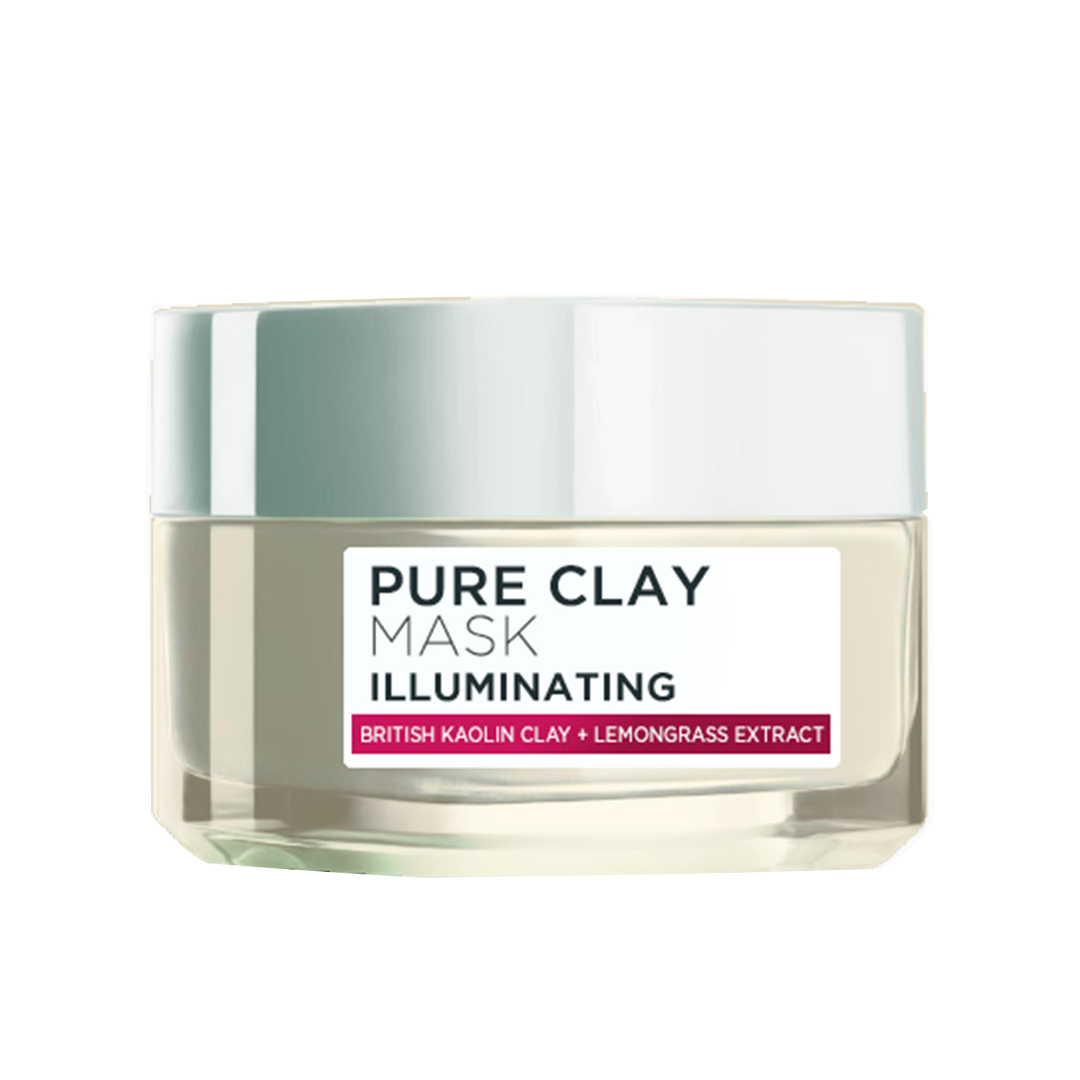
Calyxta recommends: L’OREAL PARIS PURE CLAY MASK (PHP 399.00)—an effective mud treatment that resets the skin, making it clean and purified.
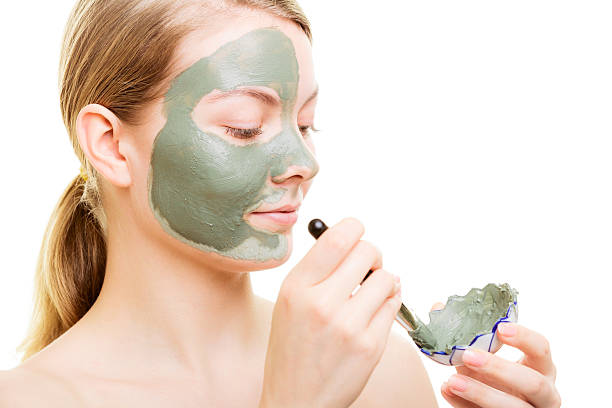
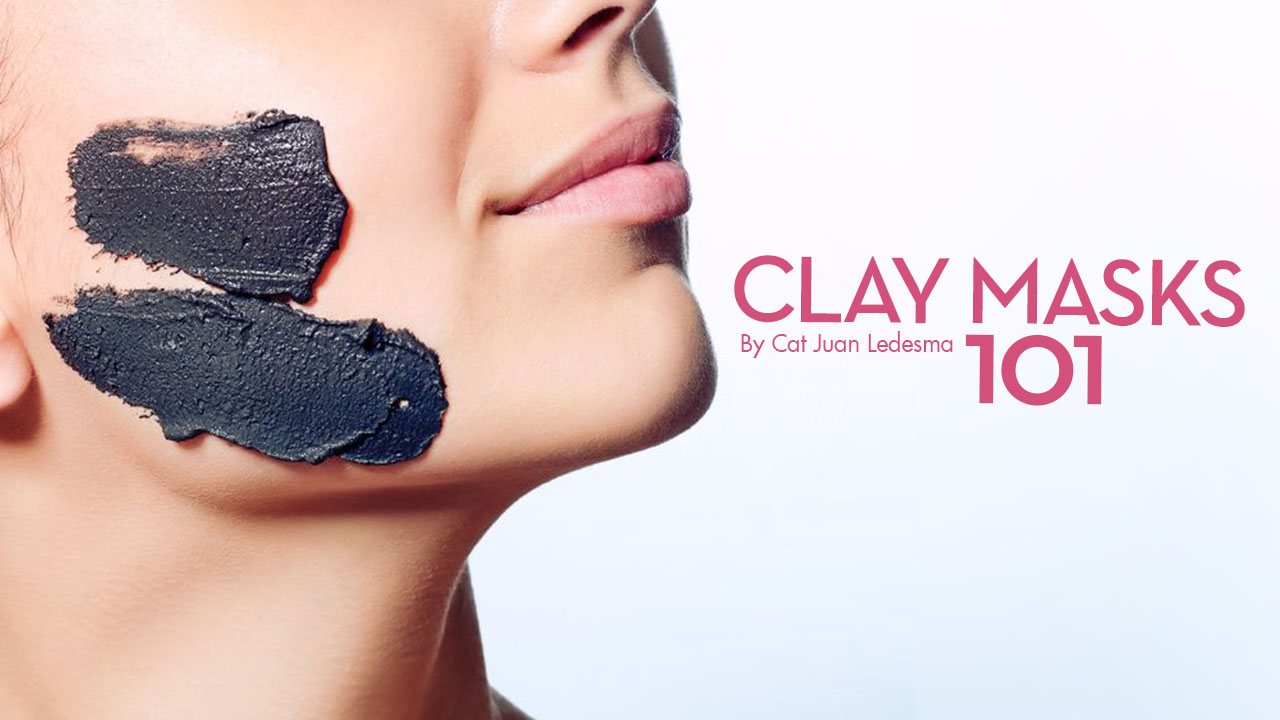
Now that your clay is ready to go, either use your fingers or a face brush to paint the clay on in generous strokes. Be sure to apply it all the way to the jaw line, which is often prone to break outs. Try to avoid the under eye, eyebrows, and hairline. Once the clay is in place, we recommend also using your fingers to massage it in a circular motion to guarantee that it enters pores and give it a better chance of working.
Step 5: Let mask dry
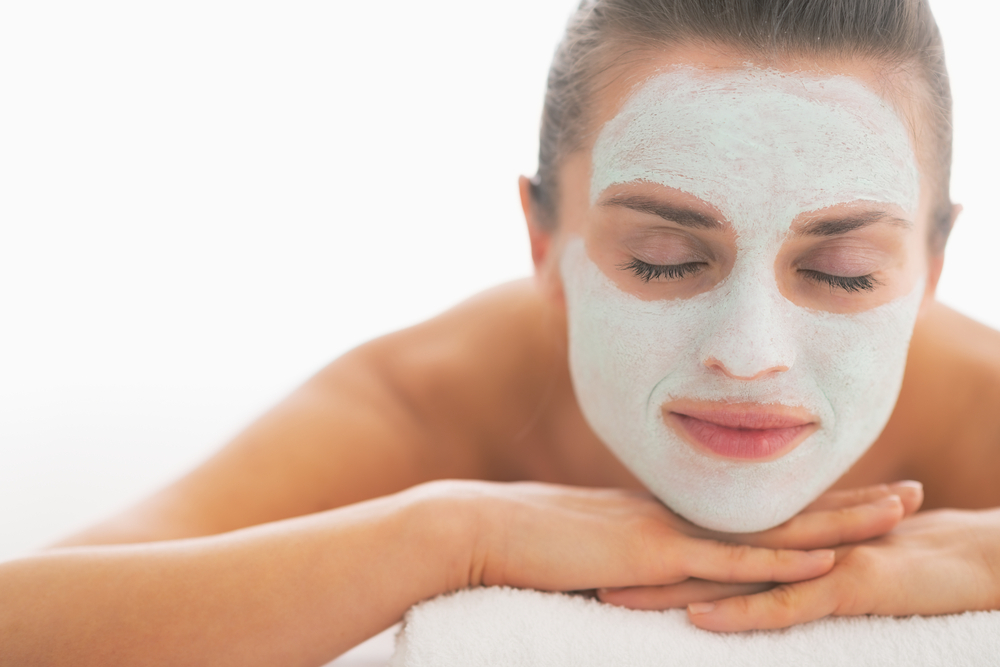
One of the most important parts of letting your mask reach its full potential is by allowing it to dry on the skin for about 10-20 minutes. You will definitely feel some tightening as the water evaporates from the clay and makes the mask begin to do its work. If you feel a burning sensation that you find too uncomfortable, we recommend removing the mask and letting your skin rest.
Step 6: Remove the mask
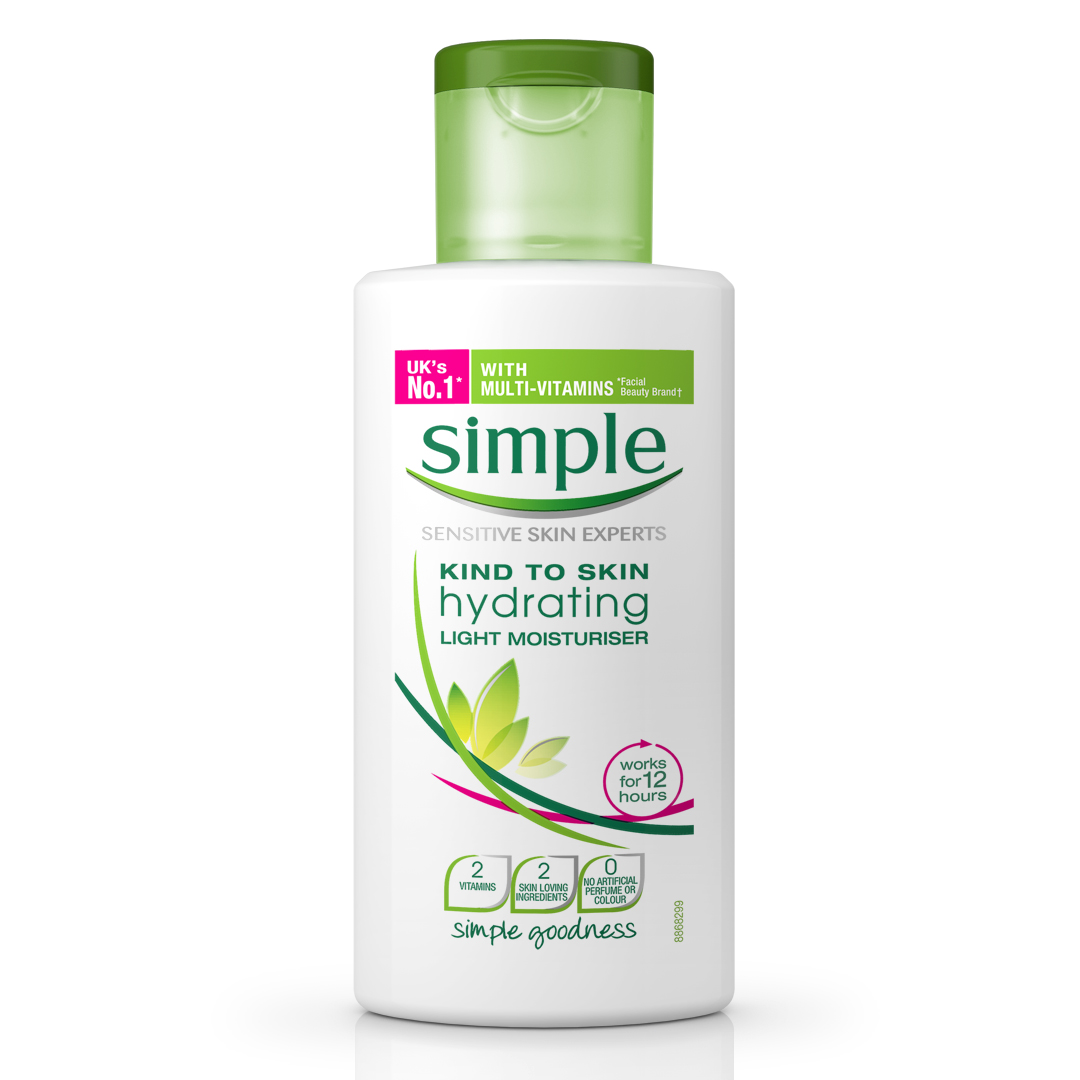
Calyxta recommends: SIMPLE HYDRATING LIGHT MOISTURIZER (PHP 500.00)—a light facial moisturizer that is quickly absorbed into the skin leaving it looking fresh the whole day.
This is honestly the worst part about clay masks and the step we like the least. Clay masks have a tendency to want to stay on your face, making it rather difficult to remove quickly. The first step is to soften the mask with water and gently rub off as much of the mask as you can. Use a gentle facial cloth to remove the rest of the mask. This is important because if not, you will find bits of clay on the sides of your hair and eyebrows, which isn’t fun. Once the mask is removed, return some moisture to the skin
with your favorite moisturizer and show the world a brand new you!


