I think it’s pretty evident, especially based on my Instagram, how much I love doing my own makeup. In fact, I tend to look forward to attending weddings or formal events, because I’m one of those girls who genuinely enjoy the whole process of getting ready—from doing my own hair, to applying my own makeup, to wearing my long dress, to pairing the shoes, jewelry, and clutch that will complement my whole ensemble.
I even created a hashtag to try and document my makeup looks every time, and to encourage me to constantly experiment with different colors and techniques.
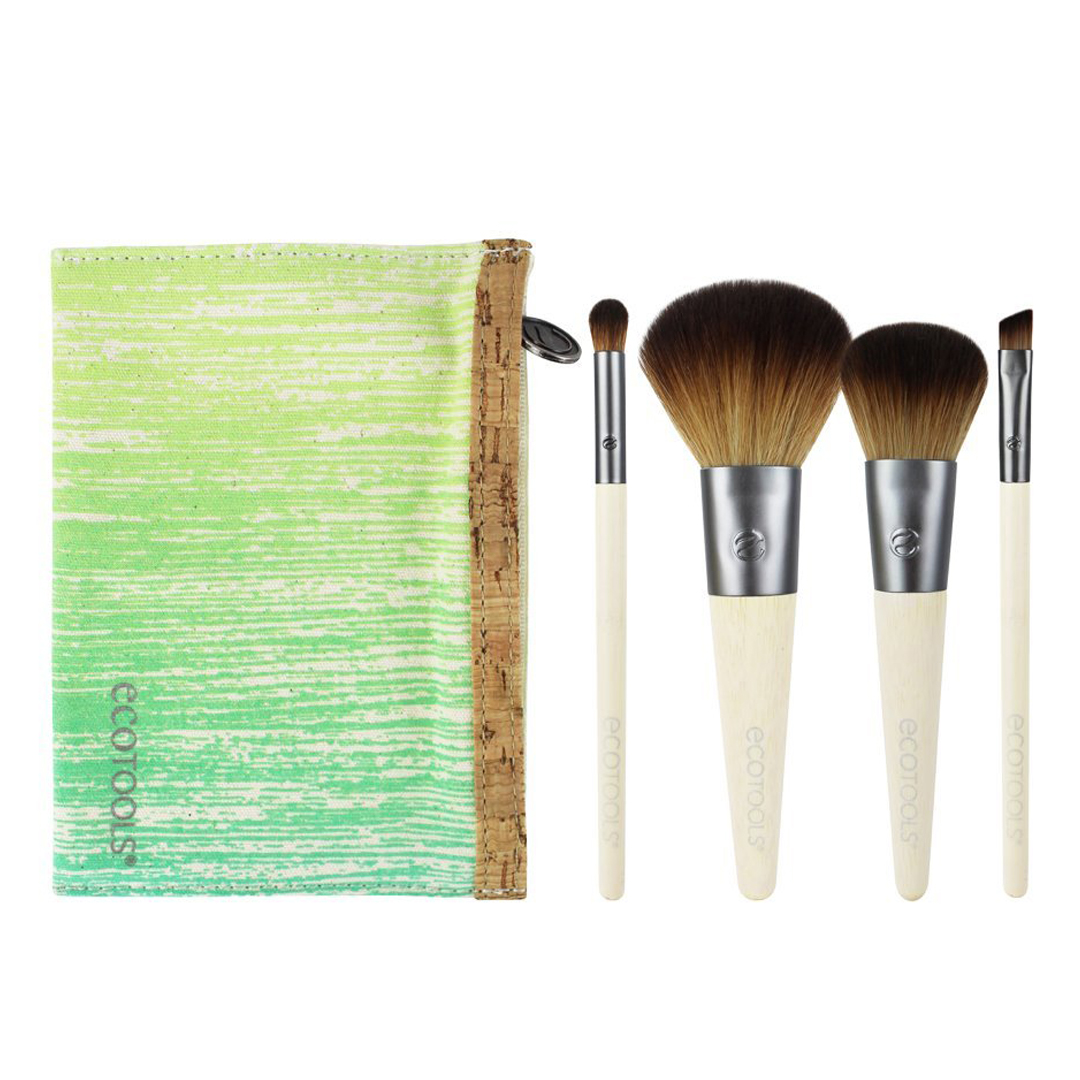
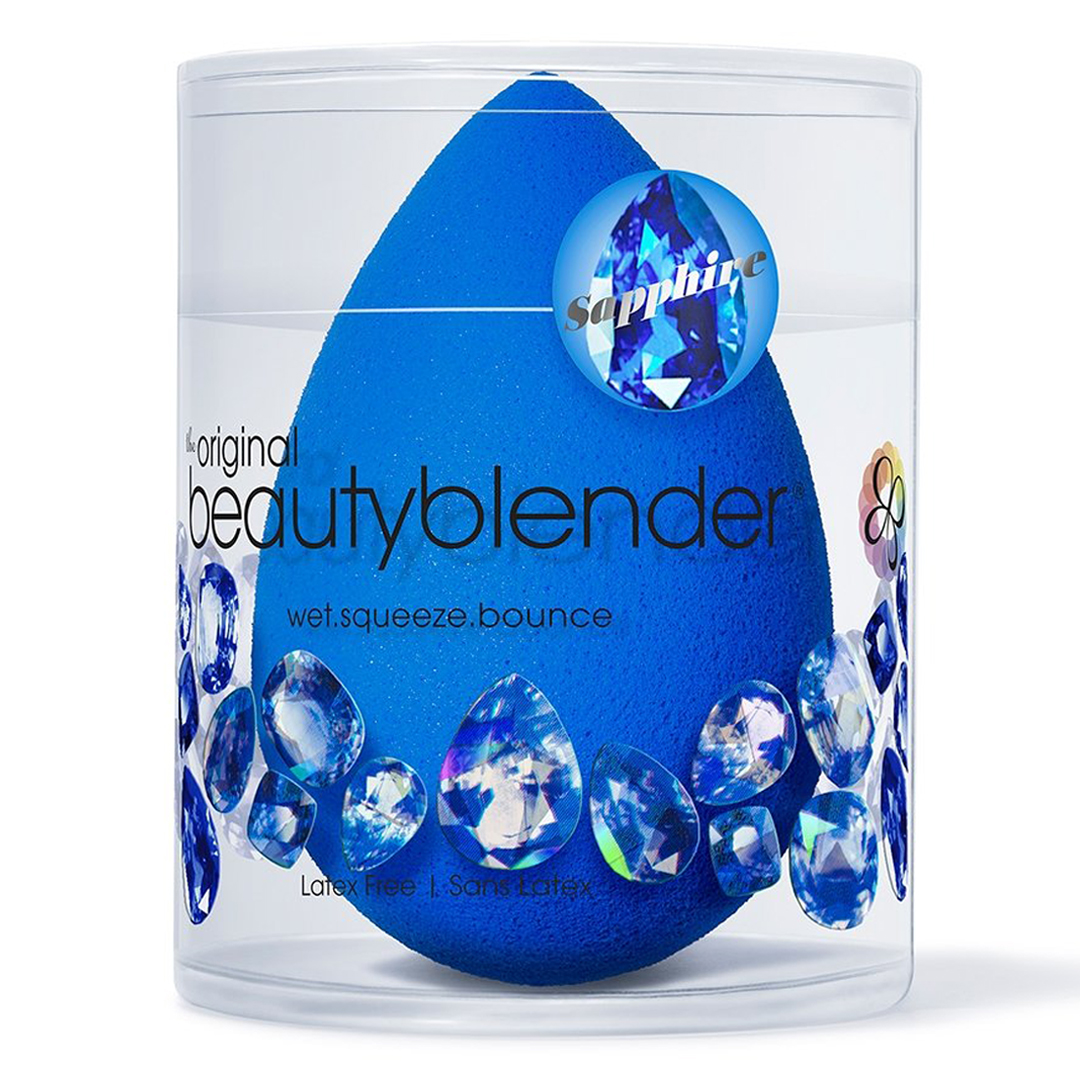
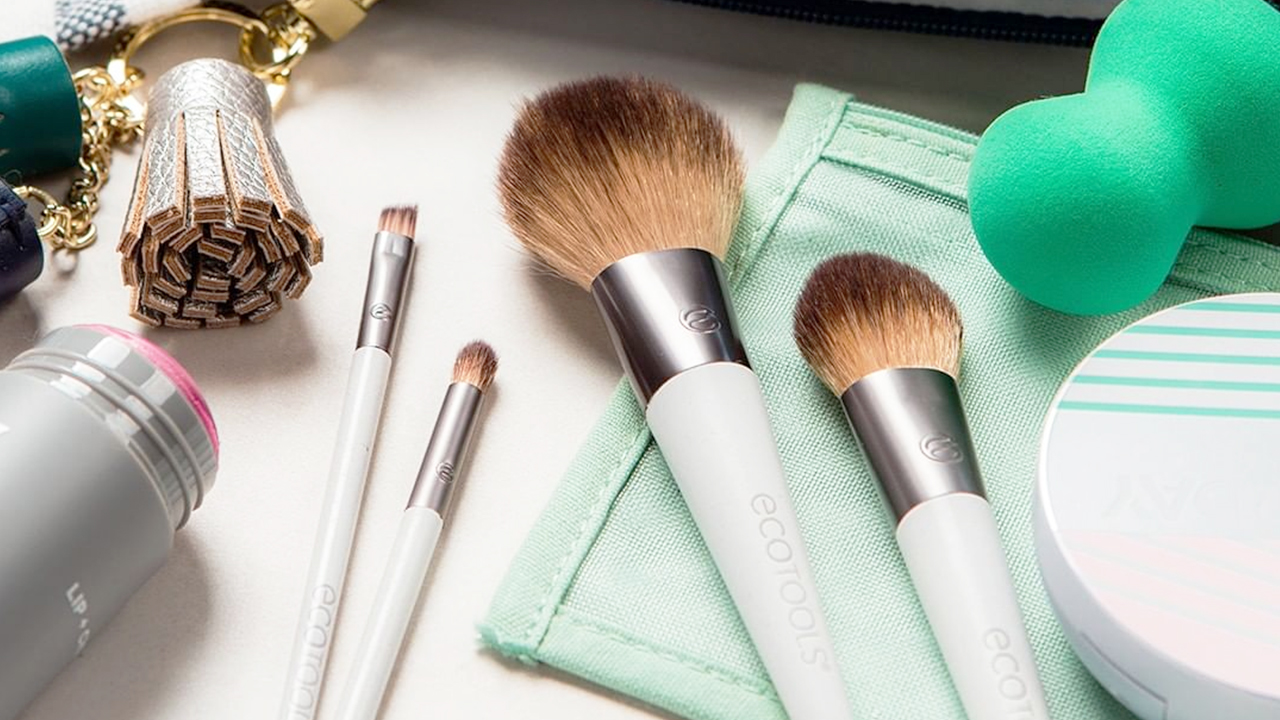
It was a good thing I had recently purchased EcoTools’ Five Piece Travel Collection, plus I had my trusty Sapphire Beautyblender!
Using just these tools, I was able to create this full makeup look.
Find out how I was able to do it when you read the steps below:
PRIMER
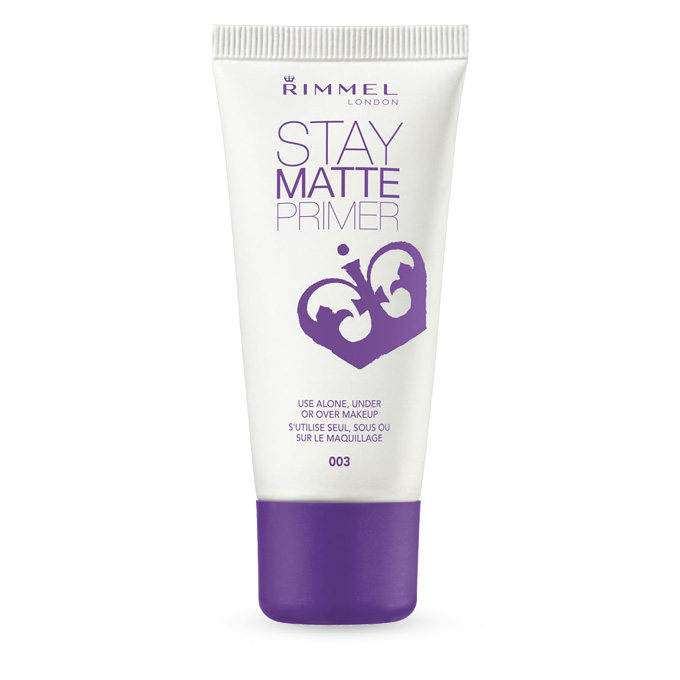
Using my hands, I applied Rimmel’s Stay Matte Primer like I would a moisturizer. I’ve been using this primer for almost a year now, both on myself and on clients, and I love its mattifying power. This is great if you have oily skin!
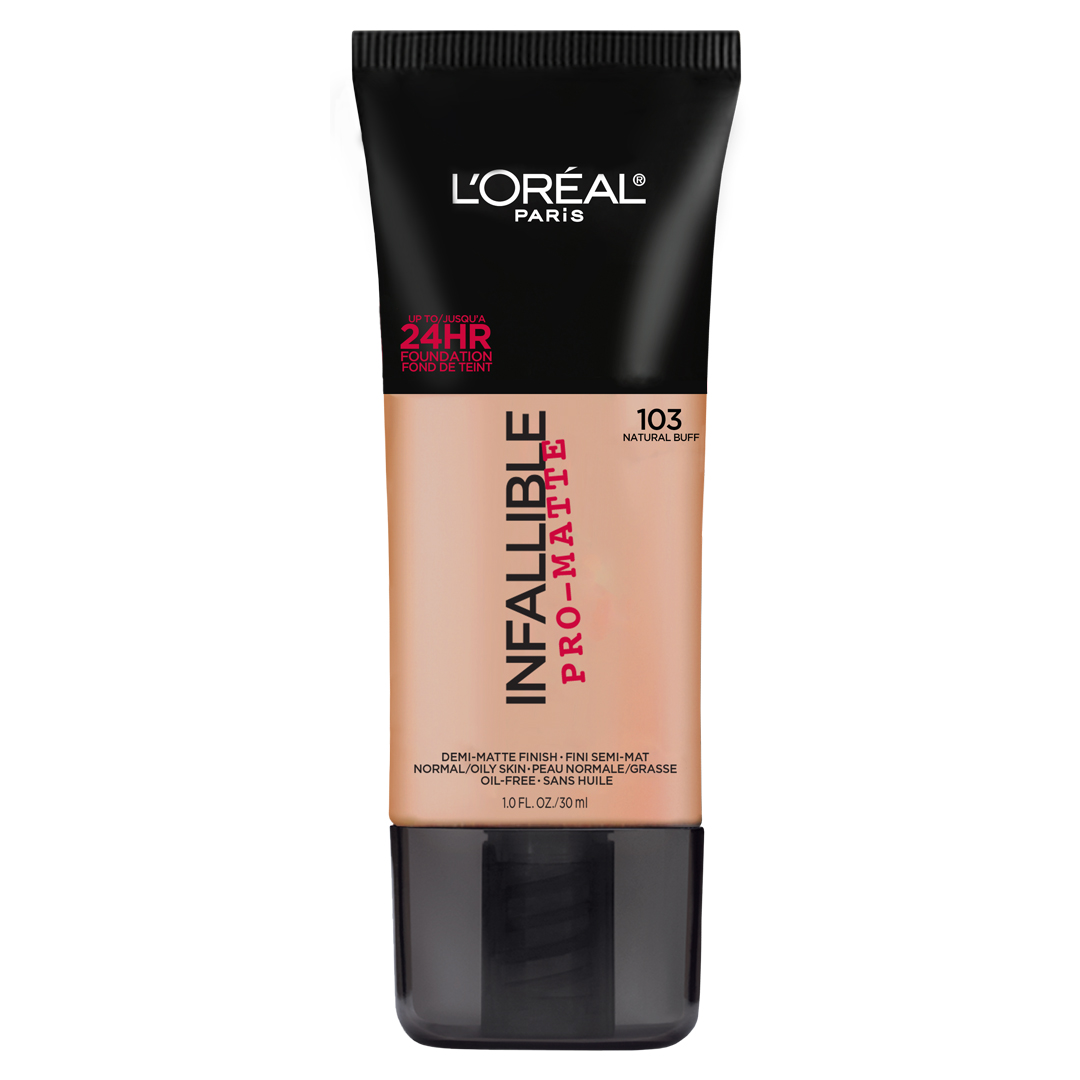
Because I have oily skin, I needed a foundation that would last me the whole day (without having to grab tissue or blotting paper once in a while). I like to use RCMA’s Series Favorites Palette, but a really good drugstore alternative is L’Oreal’s Infallible Pro Matte Foundation. My technique in applying foundation is I put about 1 to 2 pumps on the back of my hand, warm it up by blending it out with my finger, and I use the same finger to apply dots all over my face. It’s a lot easier to control the amount of product this way. And then of course, whether it’s cream or liquid foundation, I use my damp Beautyblender to blend out everything!
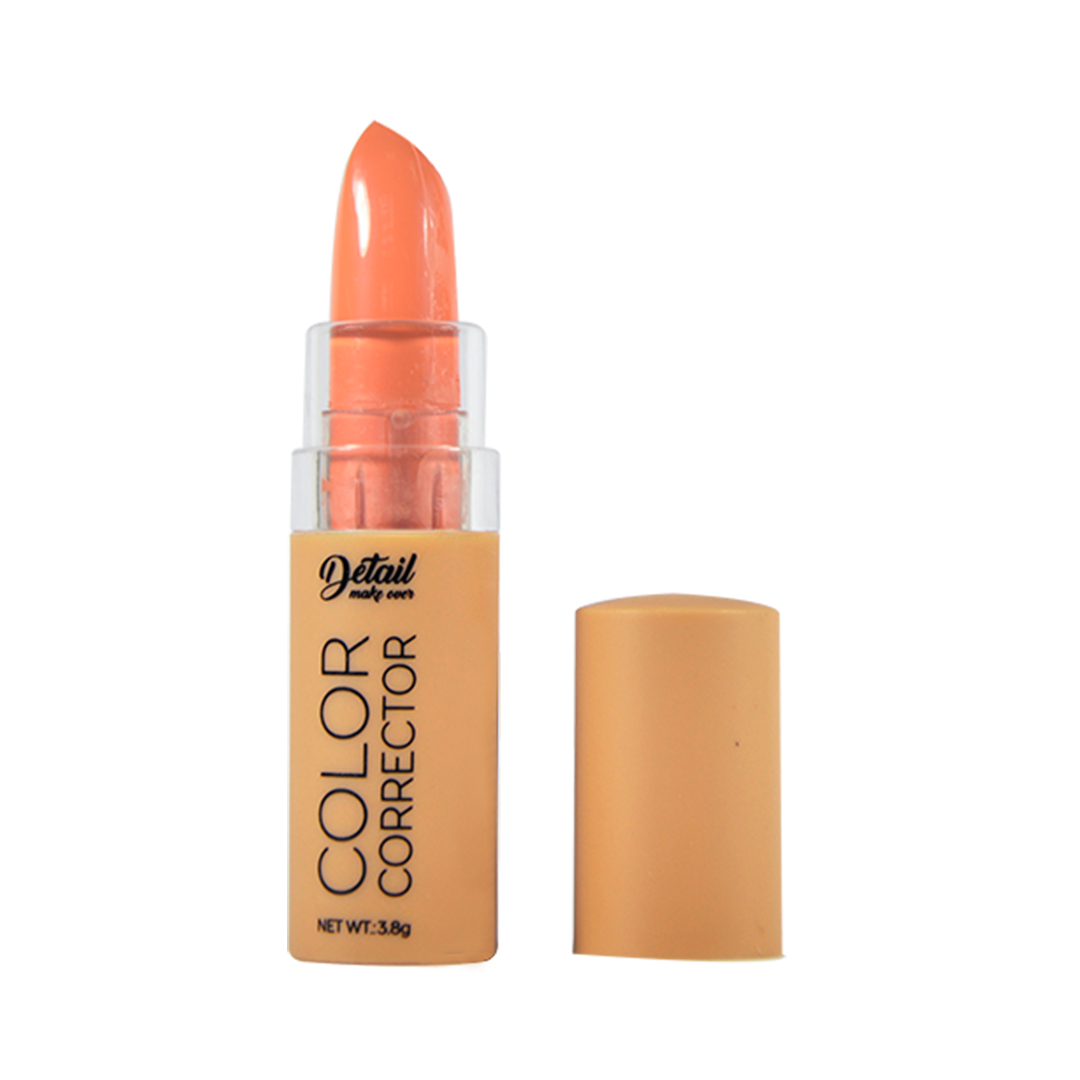
I only like to use a corrector on the dark circles under my eyes. An orange shade helps to cancel out the discoloration in this area. LA Girl’s Concealer in Orange does the job for me, but I also recommend checking out Detail Makeover’s Color Corrector Stick in Orange. For this step, I just used my ring finger to gently dab and blend!
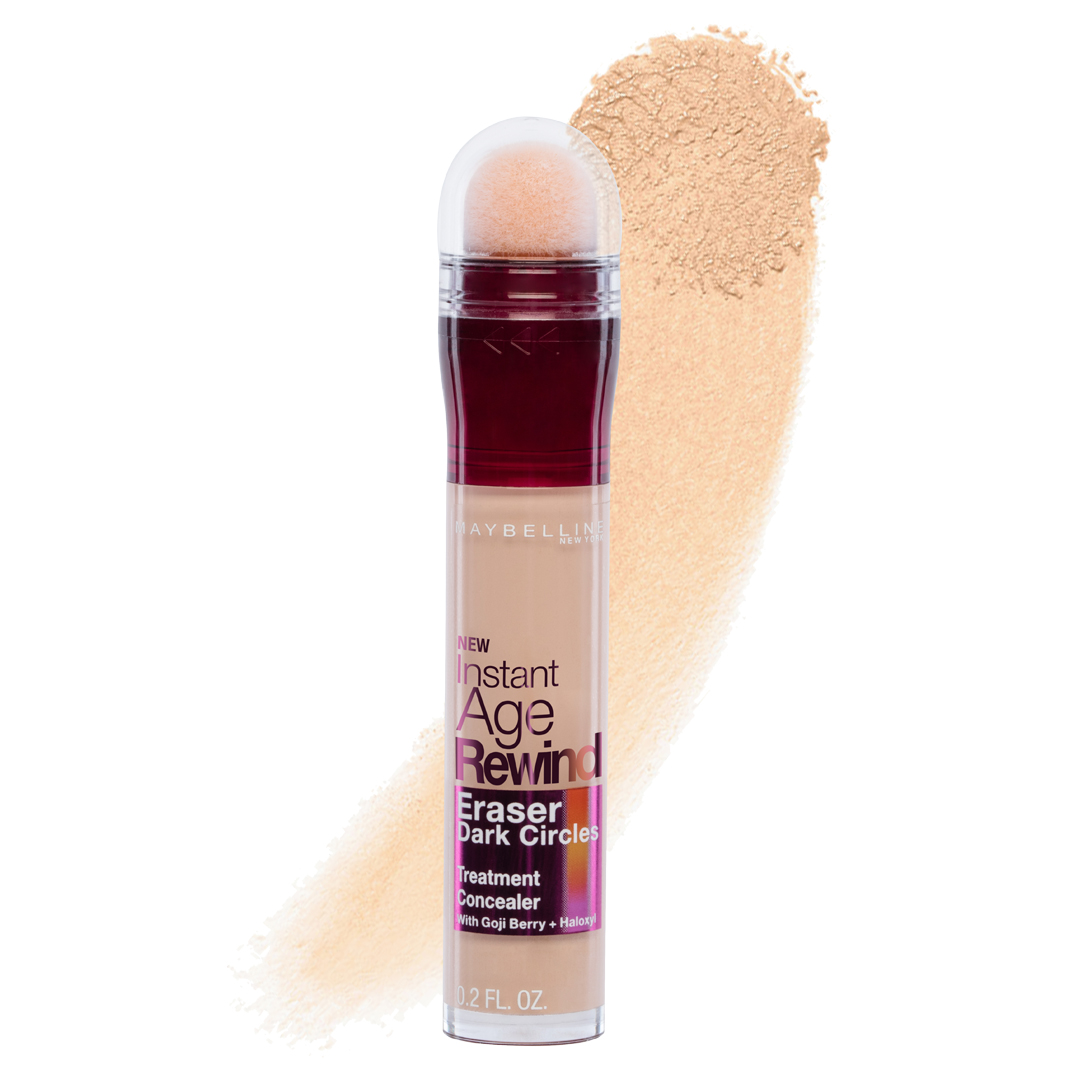
I like to use just one product for my concealer and highlighter, and my holy grail is NARS’ Radiant Creamy Concealer. But if you’re on a budget, I’ll let you in on a secret—I sometimes substitute this with Maybelline’s Instant Age Rewind because I love that product just as much. I always use the pointed side of the Beautyblender to blend, blend, blend!
CREAM CONTOUR
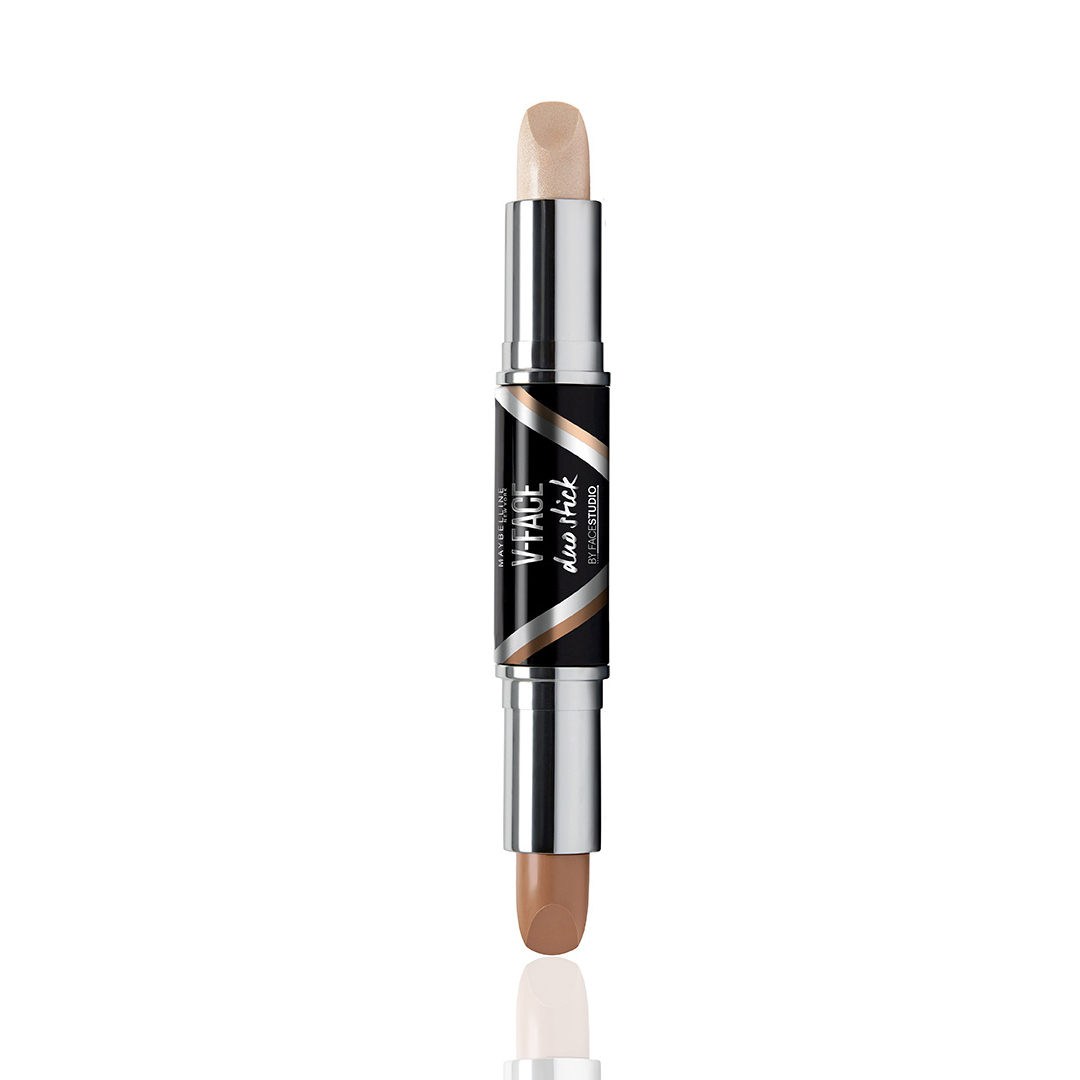
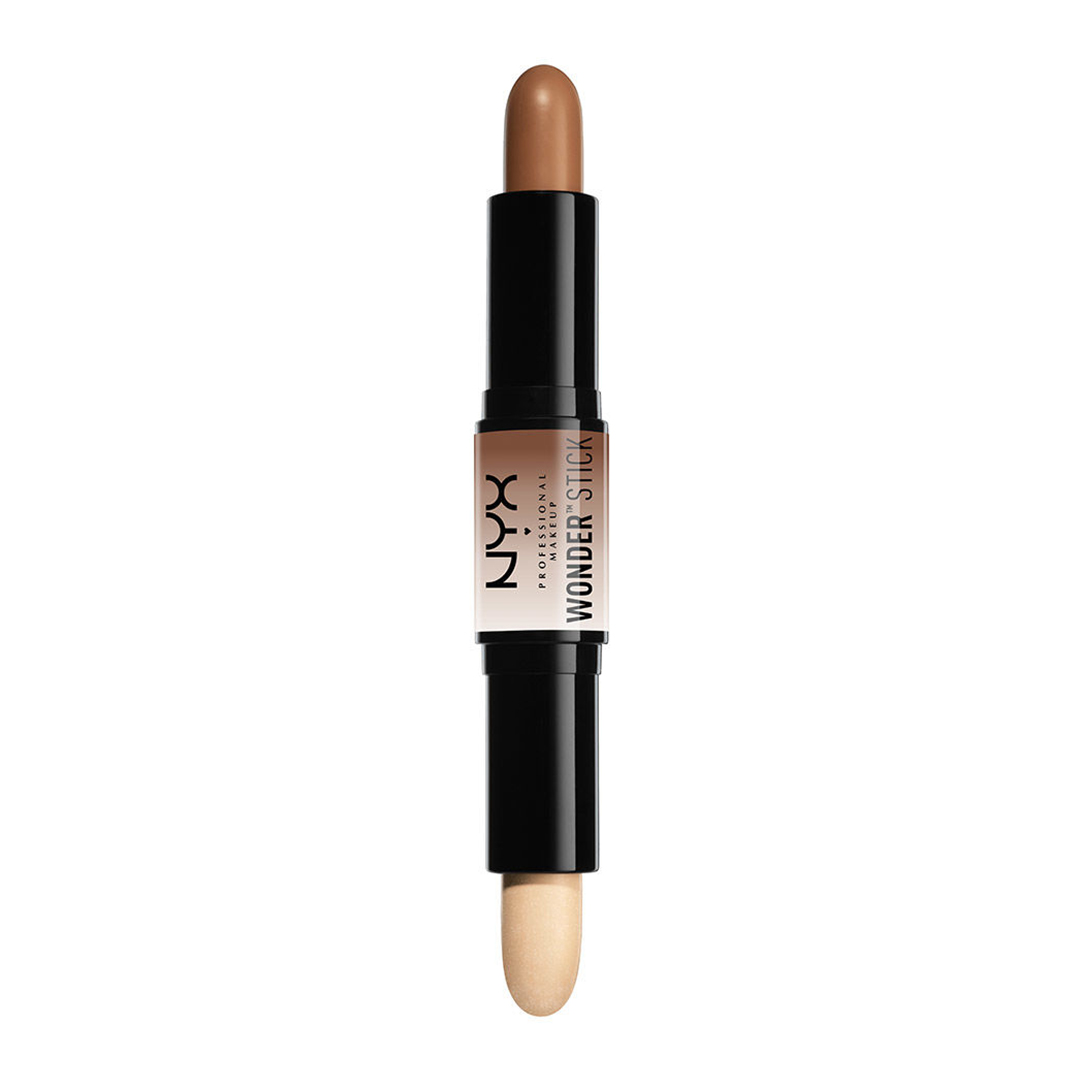
I only own and use two cream contour products: Maybelline’s V-Face Duo Stick and NYX Cosmetics’ Wonder Stick. The stick type makes it easy for me to draw a line under my cheekbones, on my jawline, on the sides of my forehead, and two lines down my nose to make it look more lifted. I normally use a different Beautyblender for my cream contour (so that the products don’t mix), but because I was limited to just one, I washed my Sapphire Beautyblender to get rid of the residue from my foundation and concealer, before using it again to blend out my cream contour.
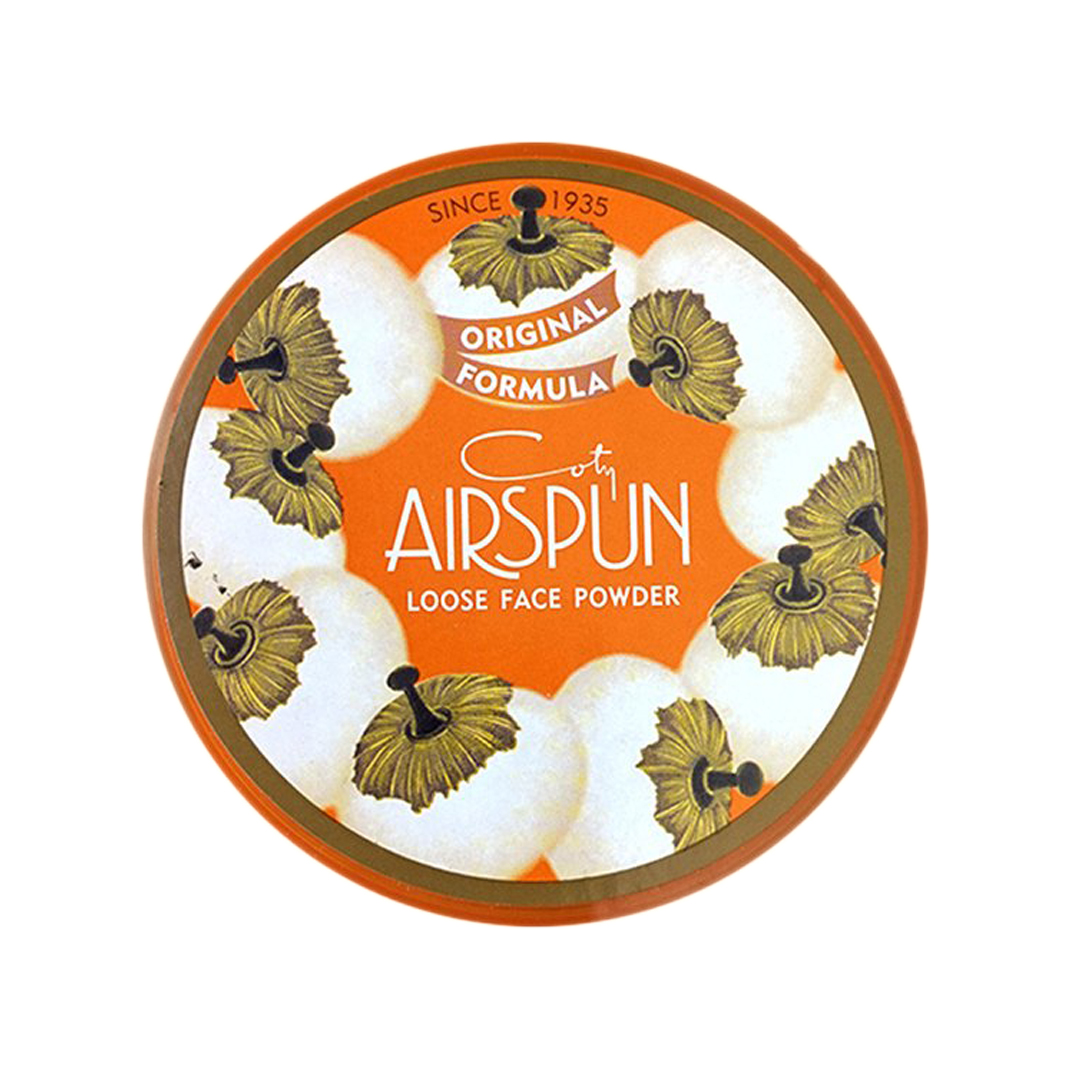
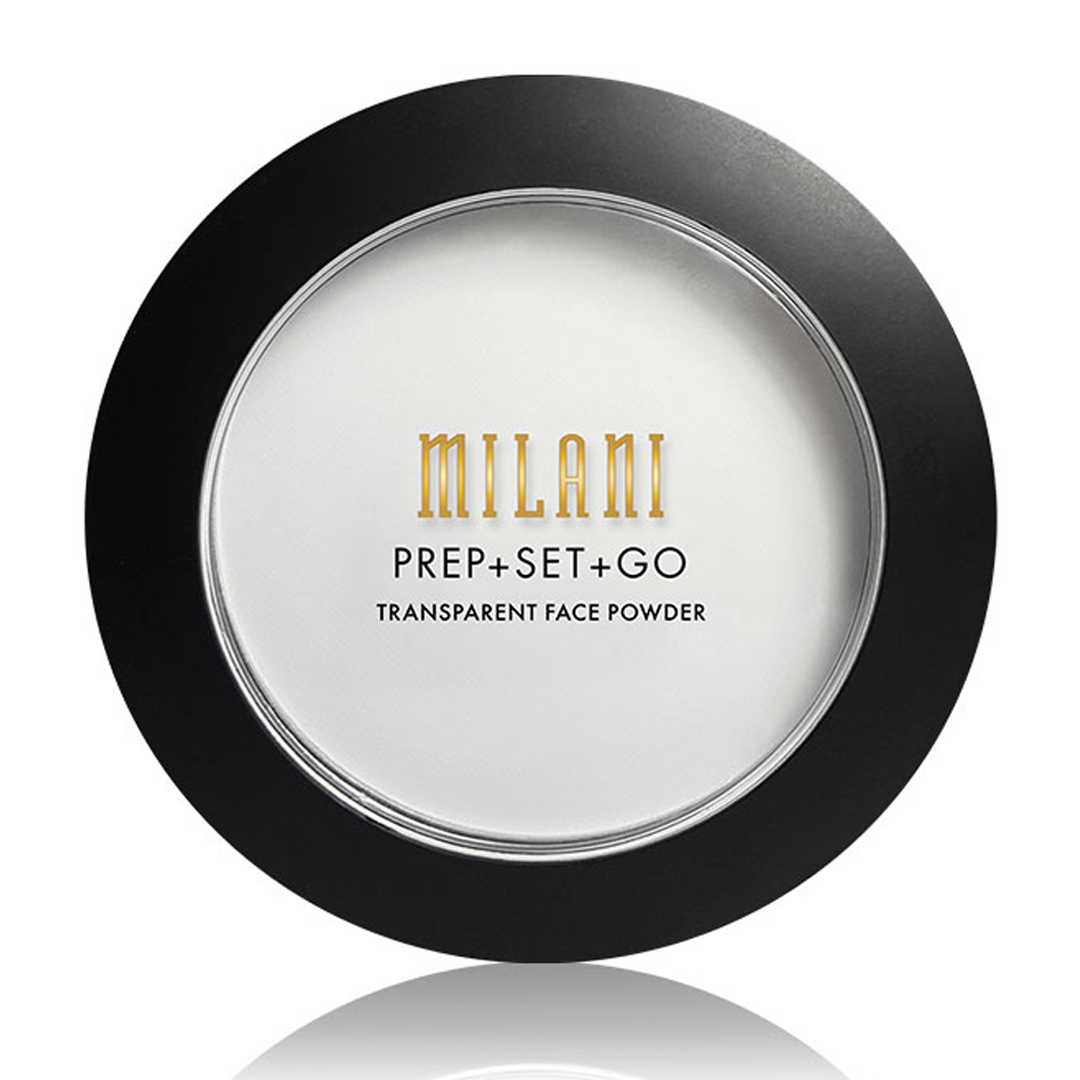
Using the biggest brush in EcoTools’ Five Piece Travel Collection (the Complexion Blending Brush), I set my cream and liquid products in place with a loose, translucent powder. My go-to is RCMA’s No-Color Powder, but you can also check out the cult-favorite Coty Airspun Loose Face Powder or Milani’s Prep Set and Go Transparent Face Powder for a lightweight but matte finish.
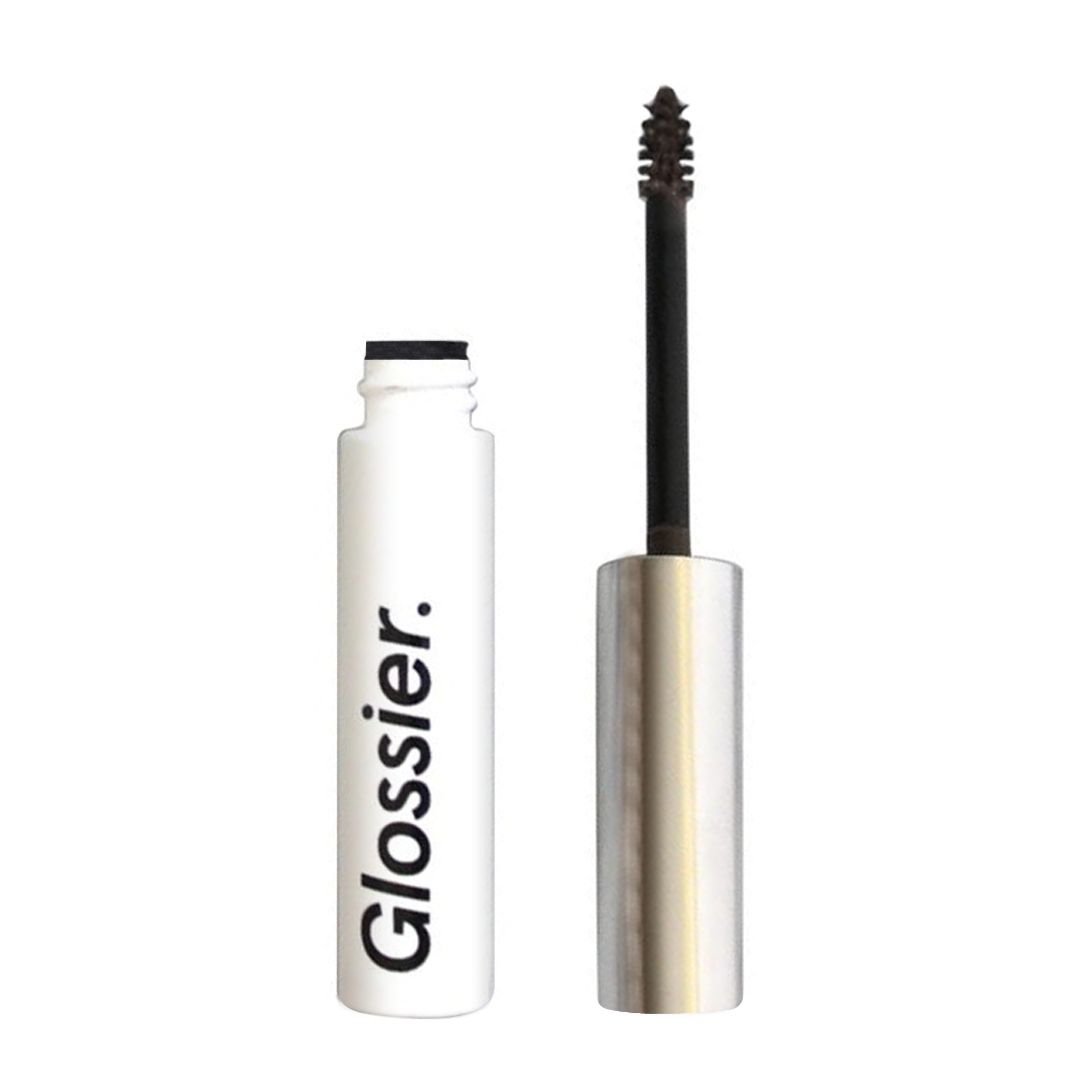
Since I stupidly forgot to bring a spoolie that could blend out my brow makeup, I made sure to use really light strokes with the angled brush from EcoTools’ collection to ensure my brows didn’t look too harsh. I finished it off with Glossier’s Boy Brow in Brown.
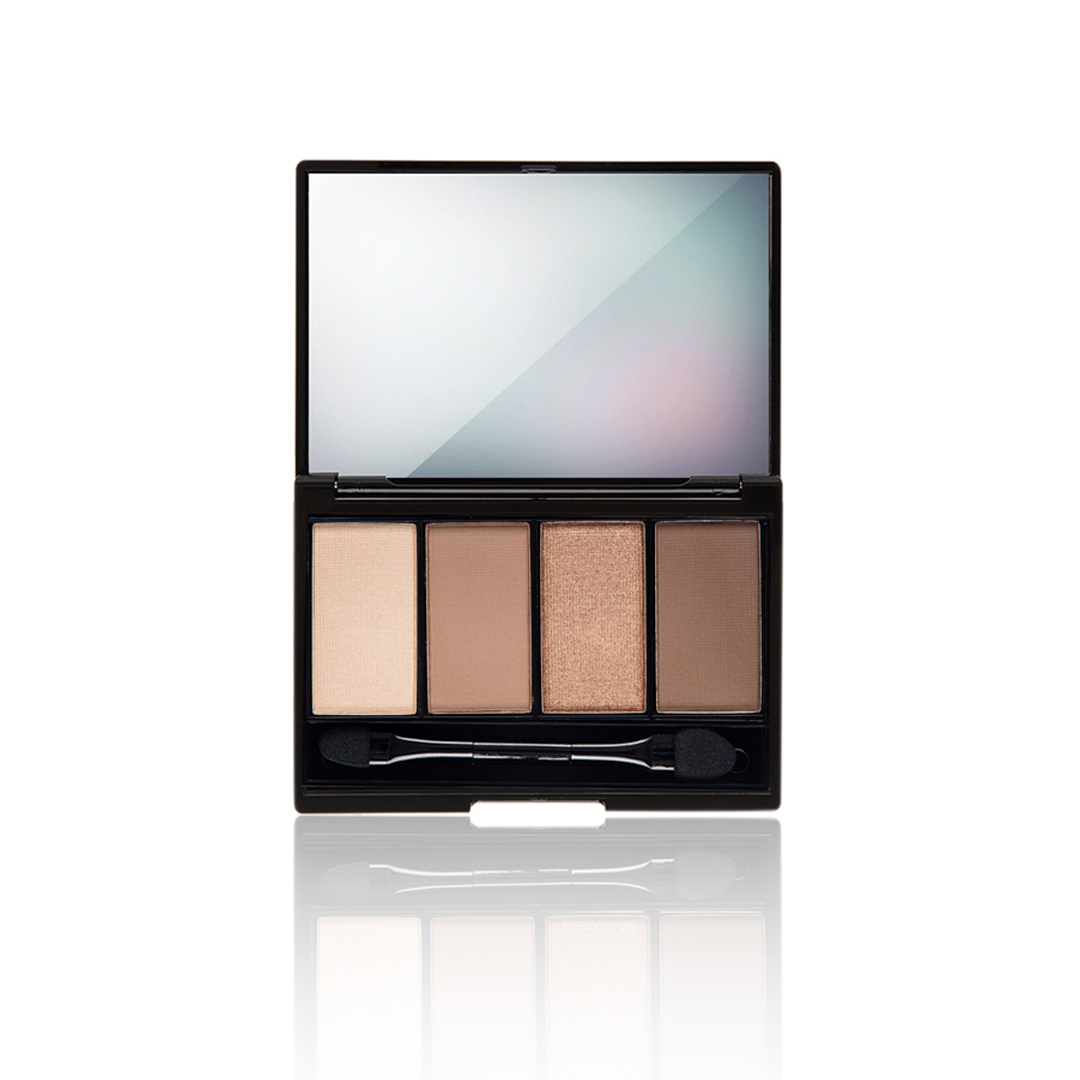
Here comes the exciting part! For this look, I stuck to mostly brown hues—much like Pink Sugar’s Eye Candy Eyeshadow Quad in Tiramisu. With my clean ring finger, I dabbed on a matte, light brown shade all over my lid. Using the Shadow Smudge brush (the other small one that’s not angled from the set), I took a darker color and applied a sort of V shape on the outer corners of my eyes, before blending it inwards with the same brush. If you see any harsh lines, just keep blending. For the third and last color, I used a shimmery brown shade and used my ring finger to dab it all over the center of my lid.
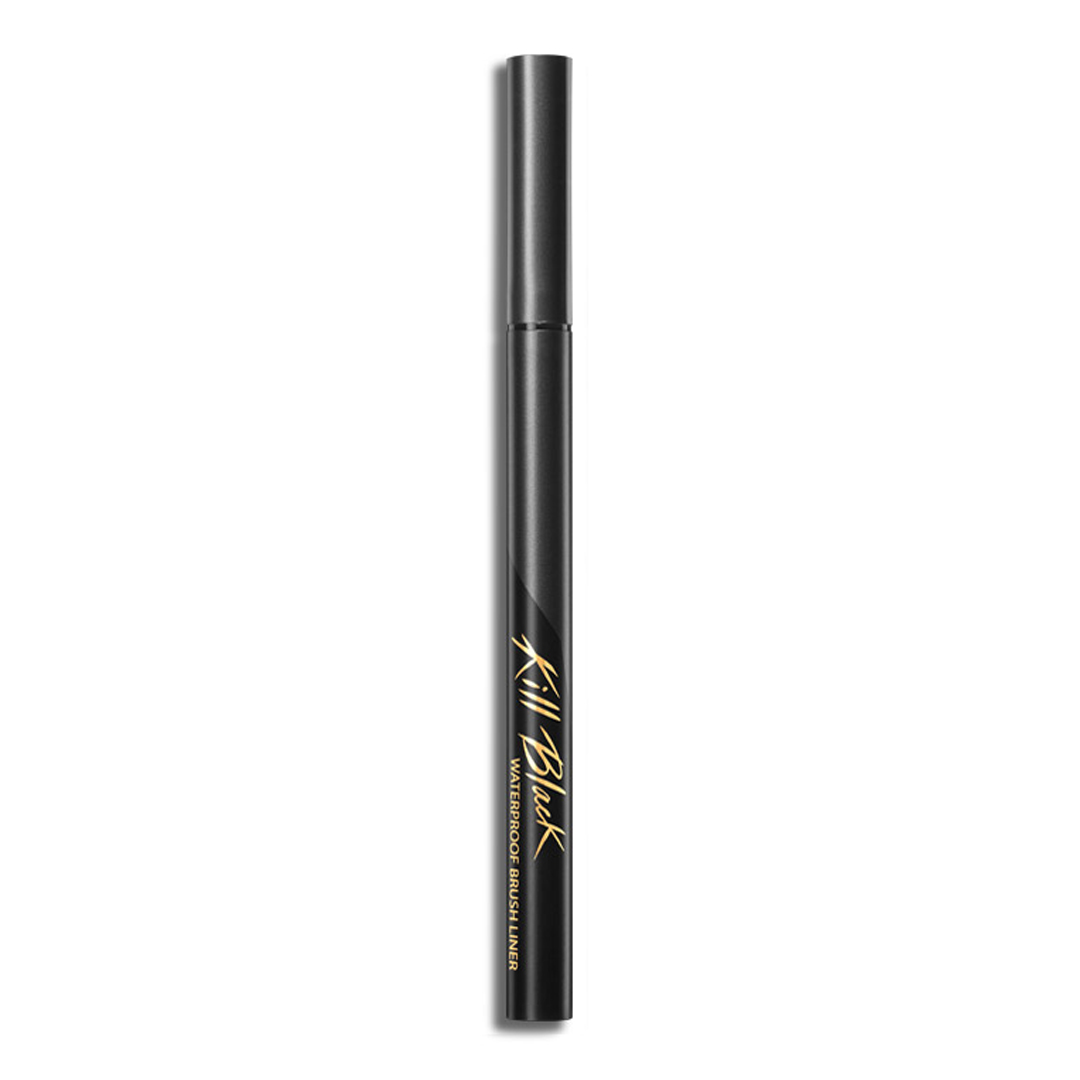
I lined my lids with a black waterproof liquid liner. Calyxta’s top pick? Clio’s Waterproof Brush Liner!
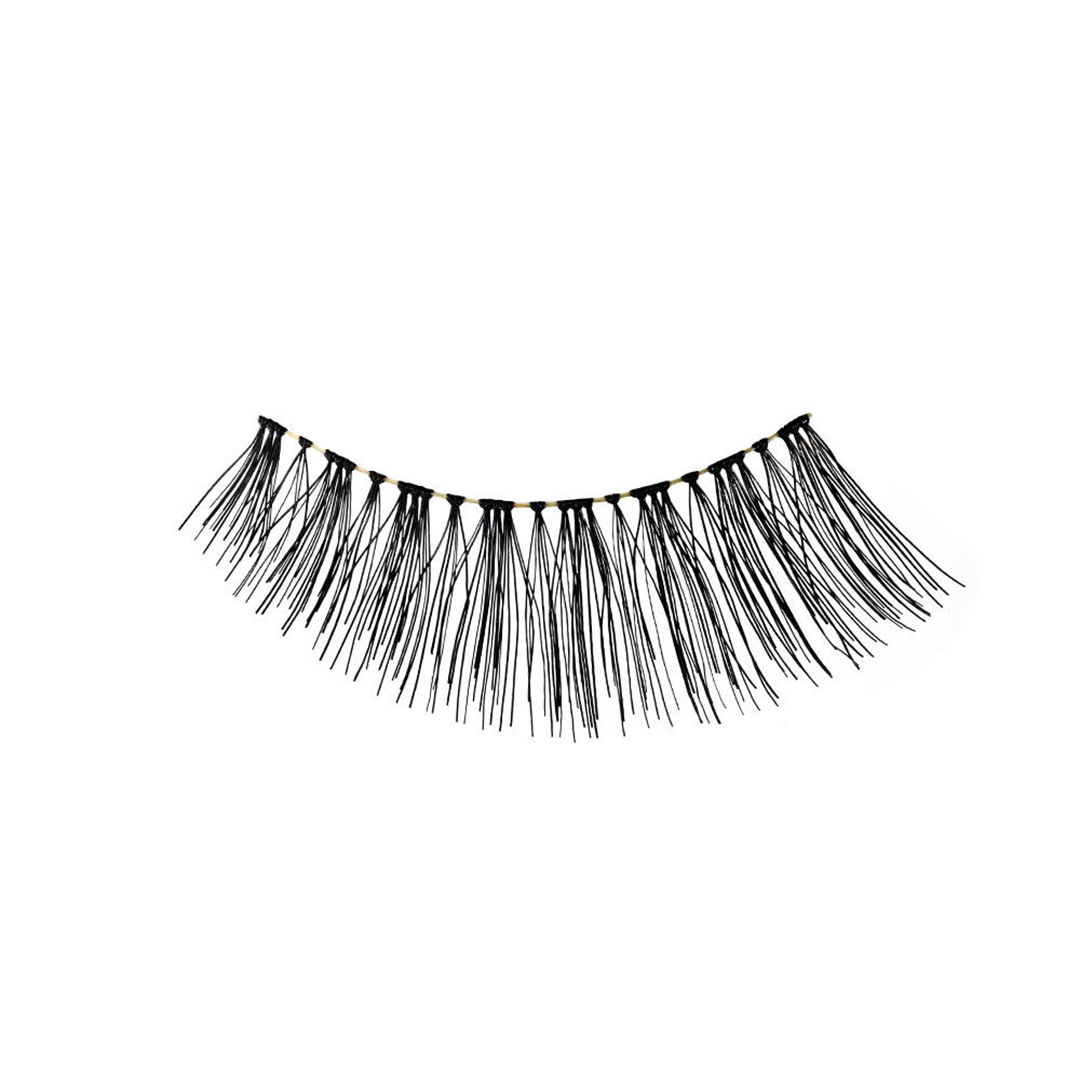
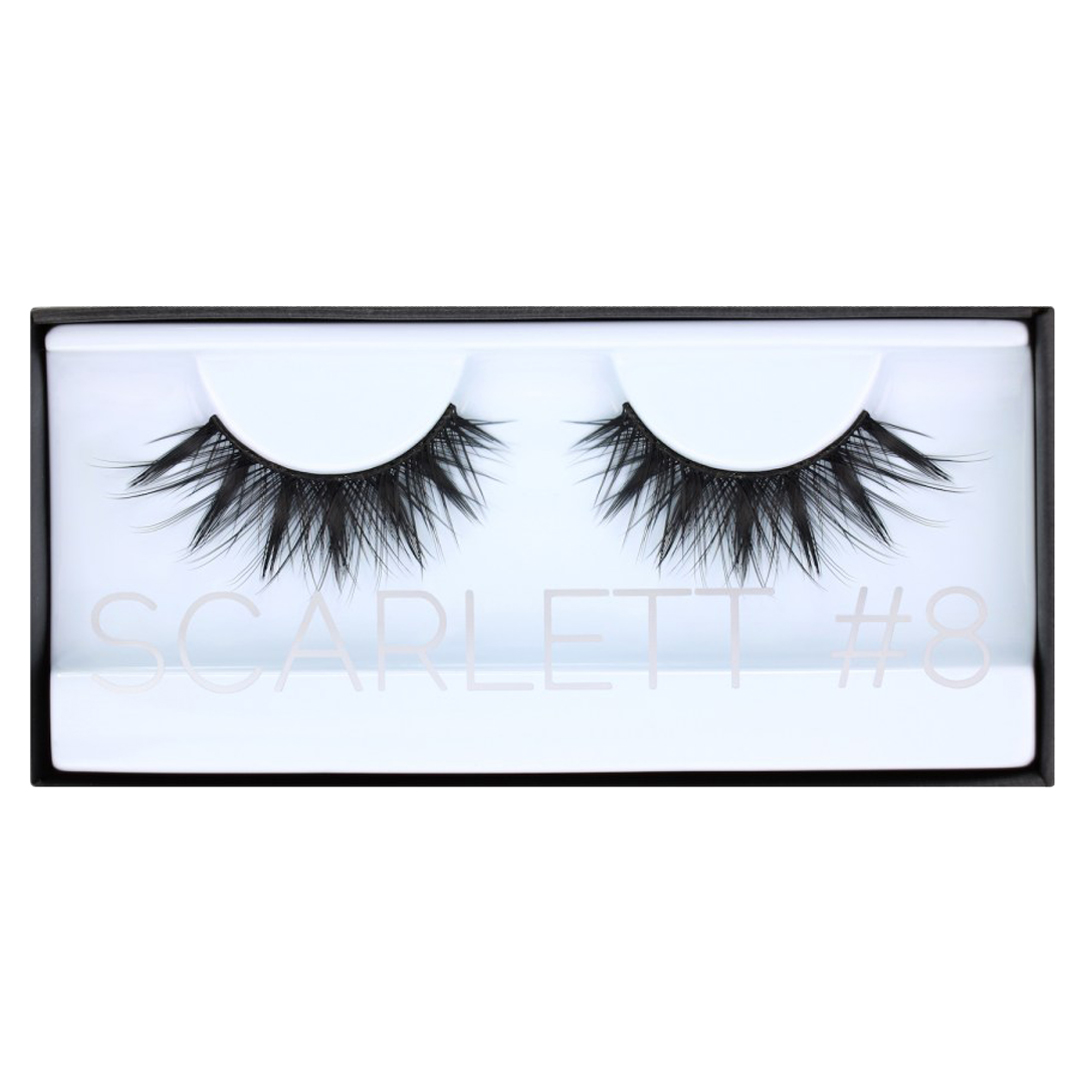
For this look, I decided to go extra with my lashes (because I love going extra with my lashes). Something like NYX Cosmetics’ Wicked Lashes in Jezebel or Huda Beauty’s Classic Lash in Scarlett should do the trick!
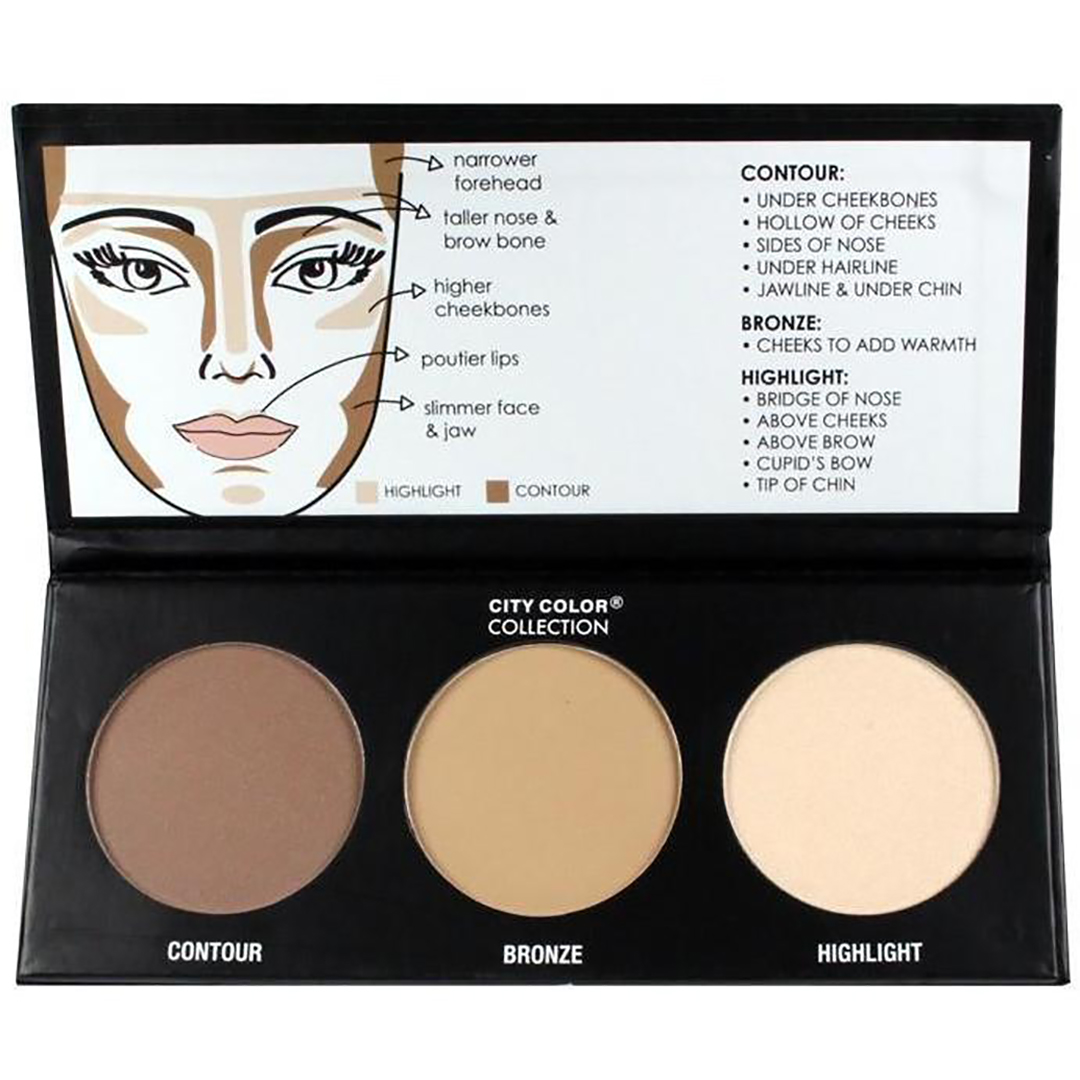
Using the Blush Brush from the set, I applied powder contour on top of all the areas I applied cream contour on. I like using a cool-toned powder contour, like the City Color Contour Effects Palette 2 – Natural Tone, more than warm ones—to avoid looking orange-y.
Since I knew I’d be using the same Blush Brush for my blush, I just wiped the brush on tissue until there were no more remnants from the powder contour. But if you want to be extra clean about it, try using a spot cleaner like Pro Studio’s Makeup Brush Cleaner.
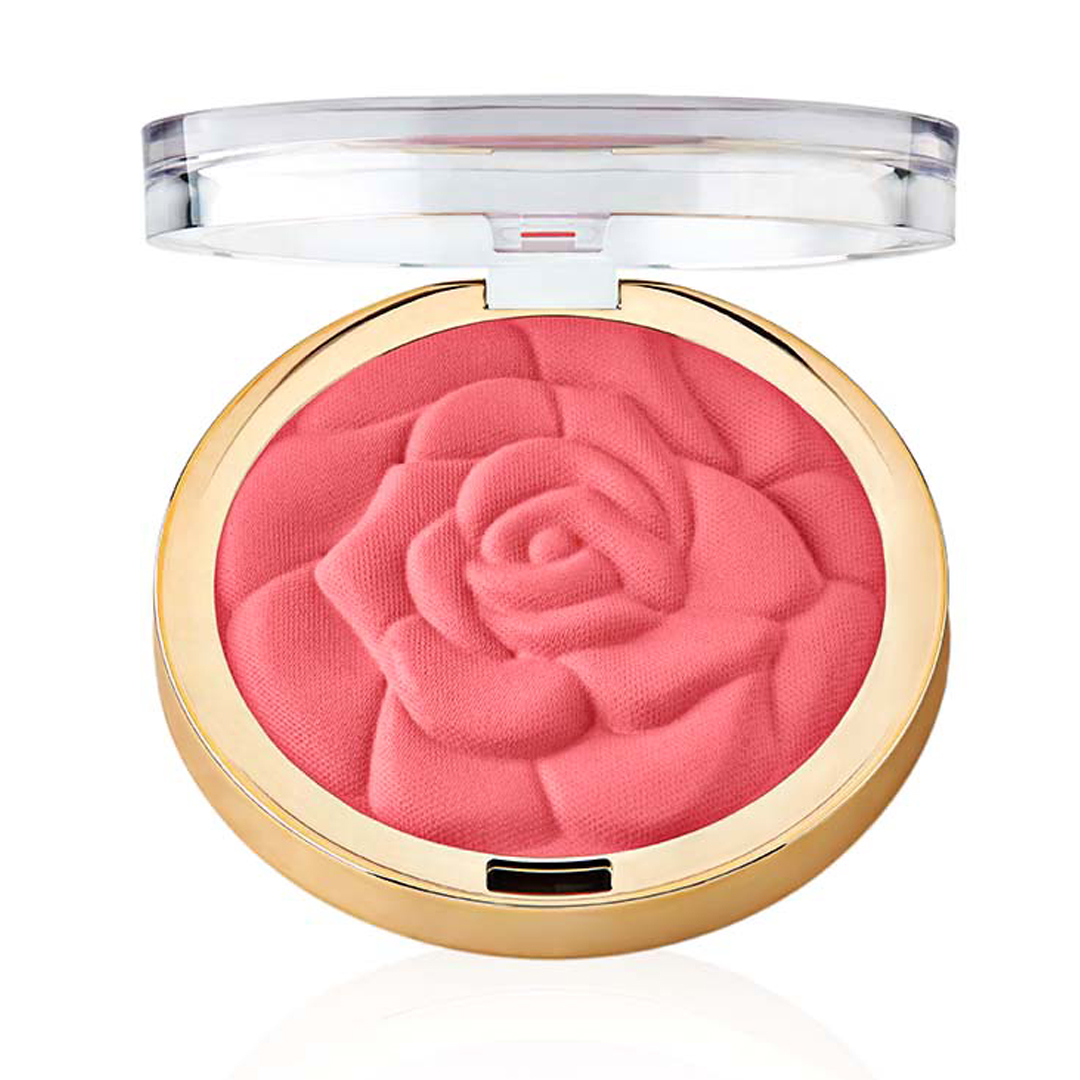
For the color of my blush, I went for a light rosy shade like Milani’s Rose Powder Blush in Romantic Rose.
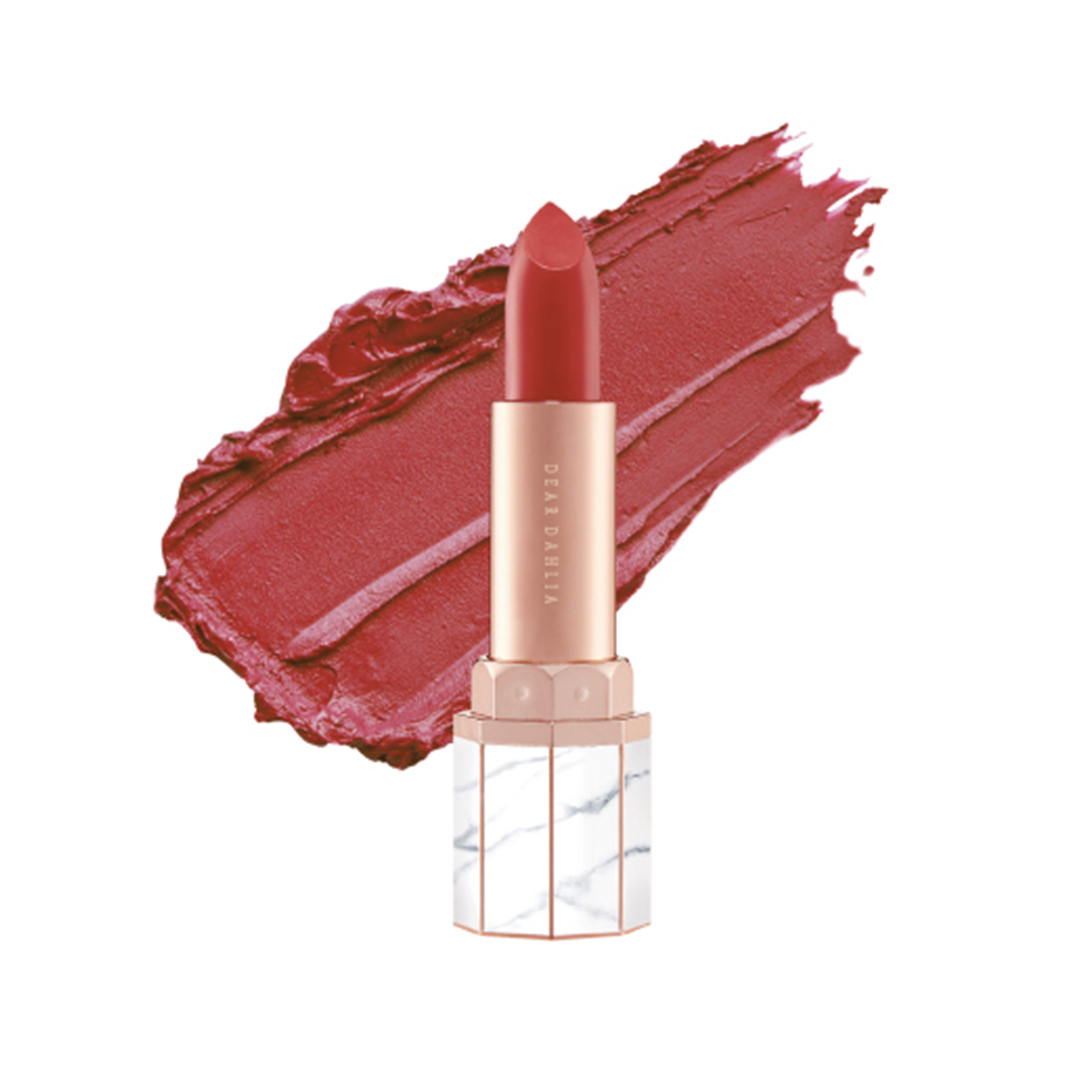
For my lips, I chose a lipstick shade that was on the berry rose side. Dear Dahlia’s Lip Paradise Intense Satin in Megan is a nice, pigmented pick that gives you a comfortable satin finish.
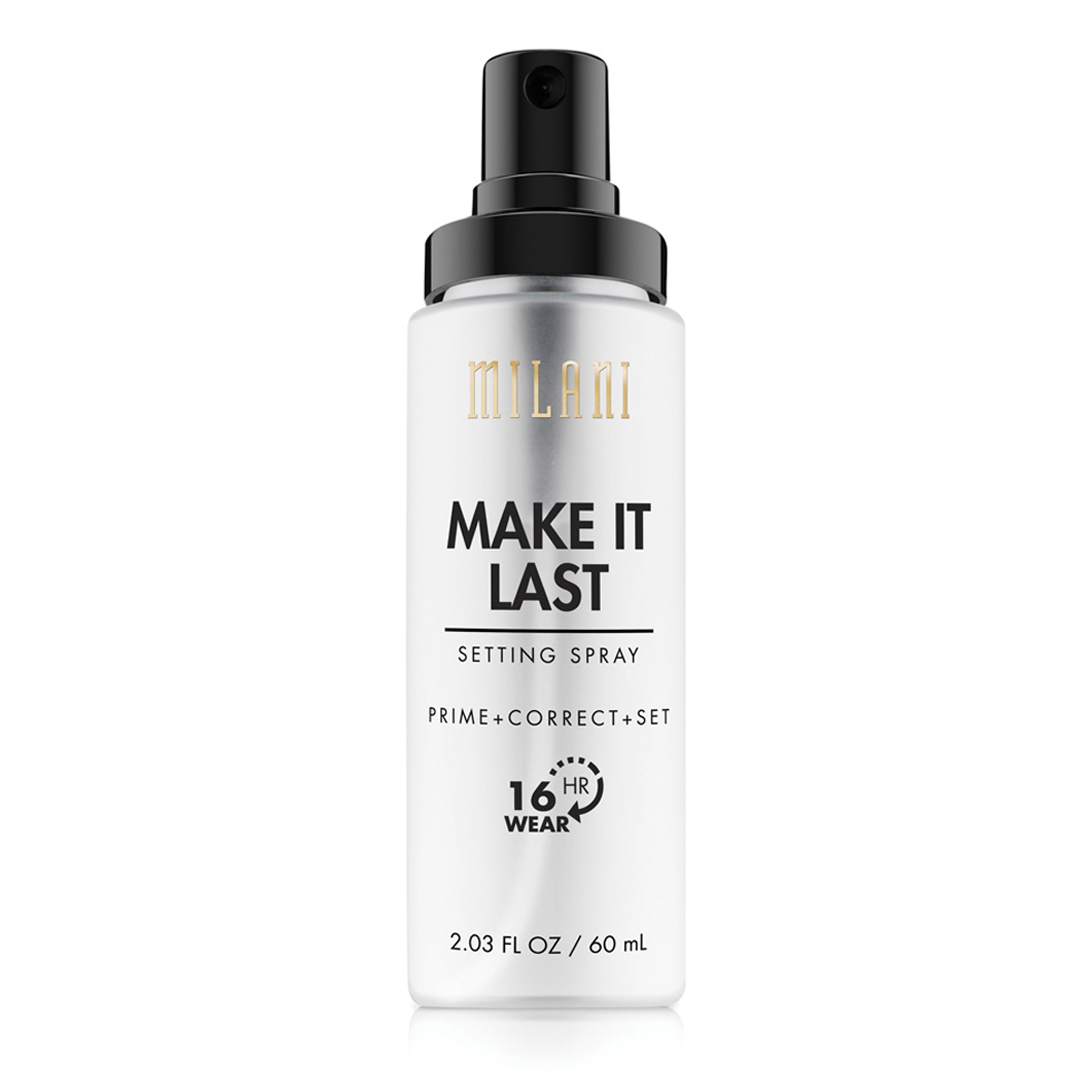
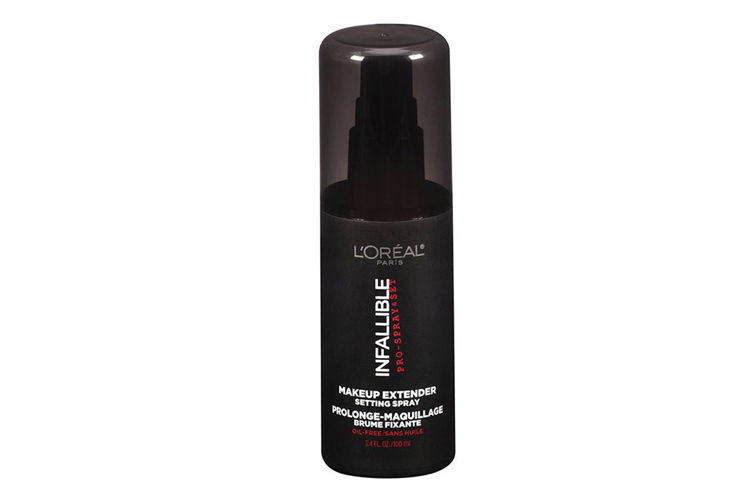
Last but not the least, of course, is my setting spray! My makeup looks never feel complete without this. Highlight recommended are Milani’s Make It Last Setting Spray and L’Oreal’s Infallible Pro Spray.

Other Products You Might Like:
-
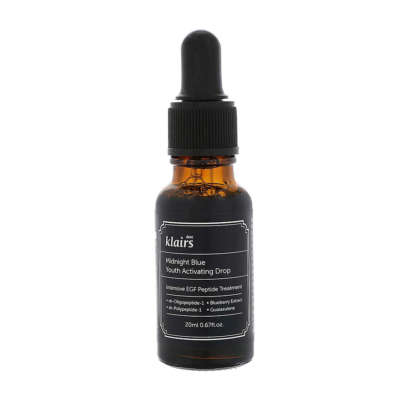
Dear Klairs Midight Blue Youth Activating Drop
PHP 1,570 Add To Cart Quick View Brand: Dear Klairs -
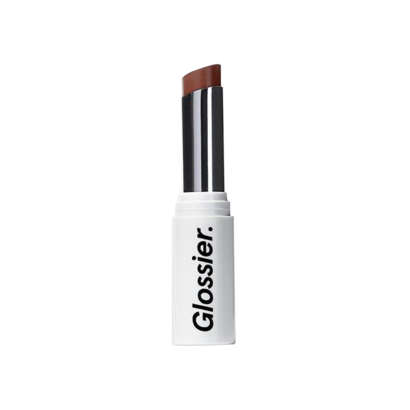
Glossier Generation G
PHP 1,350 Choose Option This product has multiple variants. The options may be chosen on the product page Quick View Brand: Glossier -
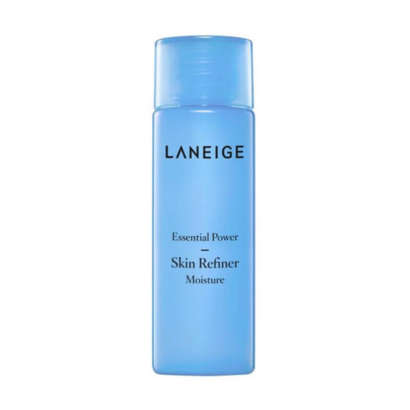
Laneige Essential Skin Refiner Moisture 25ml
PHP 90 Choose Option Quick View Brand: Laneige


